Corrugated Metal Fencing for the Scrap Yard
December 12, 2024
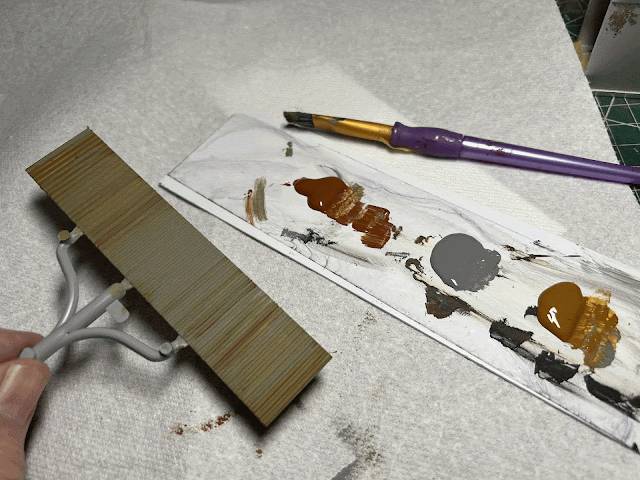
There are several locations on the layout that will require some fencing. For the scrap yard at Exeter, I decided to use the "Cornerstone" corrugated fence kit from Walthers. The fence comes molded in gray plastic that needs to be painted and weathered. The fence panels were left attached to the sprue and then painted three colors of craft paint to achieve the desired weathered appearance. The gray was applied first followed by the brown and rust colors that were blended into the gray while it was still wet.
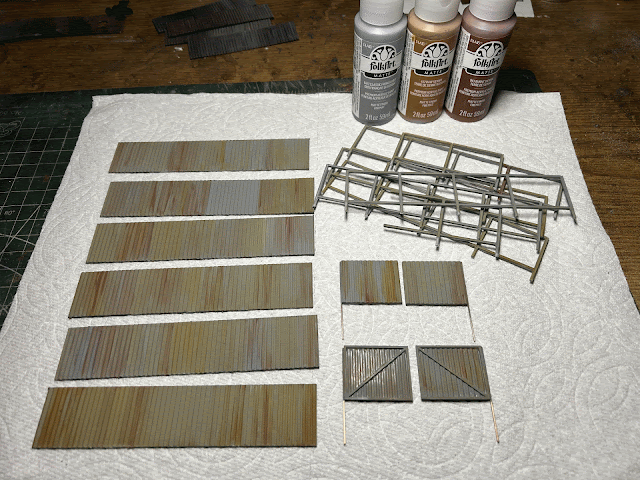
Here is the end result. The three Folk-Art colors used were Classic French Gray, Burnt Sienna and Raw Sienna. After the paint had cured, the parts were given a thin coat of Tamiya TS-80 flat spray to protect the finish.
Gates
For the scrap yard, I wanted to include gates that could be open or closed. The gates pivot on a piece of .032 bronze wire inserted into a piece of syrene tubing. Putting a slight bend on the lower end of the bronze wire provides just enough tension to keep the gates in the open or closed positions.
A hole was drilled in the cork/foam and Aleene's Tacky Glue was used to hold the styrene tubing in place. The doors can be moved between the open and closed positions. Coming up with enough "scrap" is going to be a challenge.
Wood Fencing
The same technique was used to paint and weather the Walthers wood fencing south of the Redbanks depot and behind the small MOW storage area. For the wood, Folk Art-Black was used
instead of Raw Sienna (Rust).
Here is a section of fencing installed south of the depot.
Chain Link Fencing
December 16, 2024
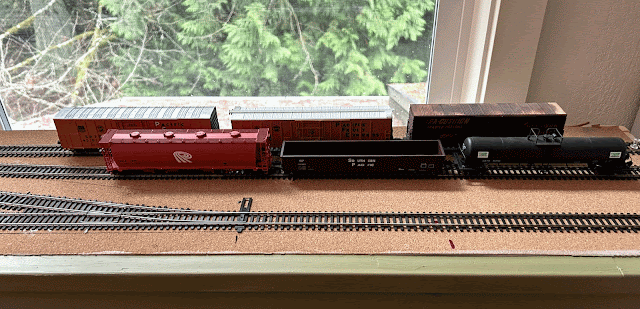
I've been operating the layout for several weeks and it became obvious that, in the layout's current configuration, there wasn't enough space in Exeter for interchange. (An operating session with my grandson operating as the engineer and me as the conductor takes about an hour.) In order to improve operations the engine house was removed and the small two track interchange was added.
Of course, removing the engine house and service track left the railroad without a place for the locomotive and caboose to layover between operating sessions. Fortunately, the solution was right here in Woodinville on the now abandoned East Side Freight short-line here in Woodinville. The East Side Freight built the small chain link fence enclosed service/storage area next to its small yard office on one stub end of a out of use wye. In order to include a yard office, a small "clamp on" extension will have to be added to the front of the module.
Elizabeth Guenzler Photograph
Woodland Scenics (A2083) chain link fencing was used to enclosure on the stub end of the main track between the small yard and edge of the module. The Woodland Scenic fence in my kit was warped and difficult to work with. It is also a bit oversize. Gluing the sections together proved to be a challenge. I finally settled on the method shown below. The two sections were suspended between two pieces of styrene, held in place with squares and glued together with gap filling ACC. The same method used for making the corrugated metal gates movable was used for the chain link fencing.

Here is SD-9 sitting within the partially completed fence. Unfortunately, one package of fencing wasn't enough to complete the project. I also managed to damage, beyond repair, several fence panels. On a scale of 1-10 I would rate this fencing about a 5. It is fragile and difficult to work with. I ended up mounting the fence to a section of styrene to add some stability. Eventually, styrene strip will be hidden by ground cover.
2 Month Review
December 20, 2024
Construction on the Visalia Electric shelf layout started around the middle of October, 2024. The original time frame for construction (90-95% level) was about 4-5 months. So after a little more than 2 months, here is a overview of progress to date. All of the track is installed and operational. All of the background murals are on hand but have yet to be installed.
Exeter Module
The capacity for interchange with parent Southern Pacific has been increased by replacing the single stall engine house and service track with a small 2-track yard. Eventually, this module on the East wall will be moved to the South wall and be extended another 4 feet to increase the length of the interchange tracks, add a depot, the engine house and service tracks. This module will be replaced with a new module. It will include the town of Lemon Cove, the rock spur and the Kaweah River crossing.
The future scrap yard at Exeter. The interchange, shown in the previous photo, is just out of view to the right. The Exter module ends about 3 inches to the left of the fence.
East Redbanks Module
The white building in the background is Kilburn Packing. The green building on the left is Redbanks Fruit Company and the team track is on the right. The scrap yard shown above is just to the right and beyond the lamp shade.
Redbanks Module
The Redbanks depot and small yard on the North wall. Redbanks Fruit Company, Kilburn Packing and the East Redbanks team track are to the right.
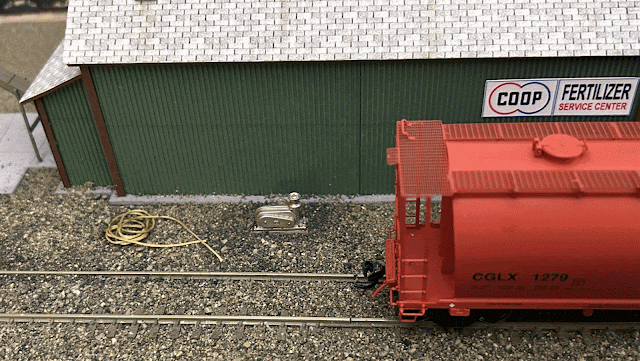
Barr Packing is on the far track against the wall. The house track (loading dock) is in front of Barr Packing and The Redbanks fertilizer dealer is on the far end. The Milwaukee Road box car is siting on the mainline.
Merry Christmas
As always, your comments, suggestions and questions are welcome
sdepolo@outlook.com


